What to Wear for a Self Photoshoot: Colours, Fabrics and Coordination
Updated 20 July 2026 · By the Self Photo Studio Singapore team
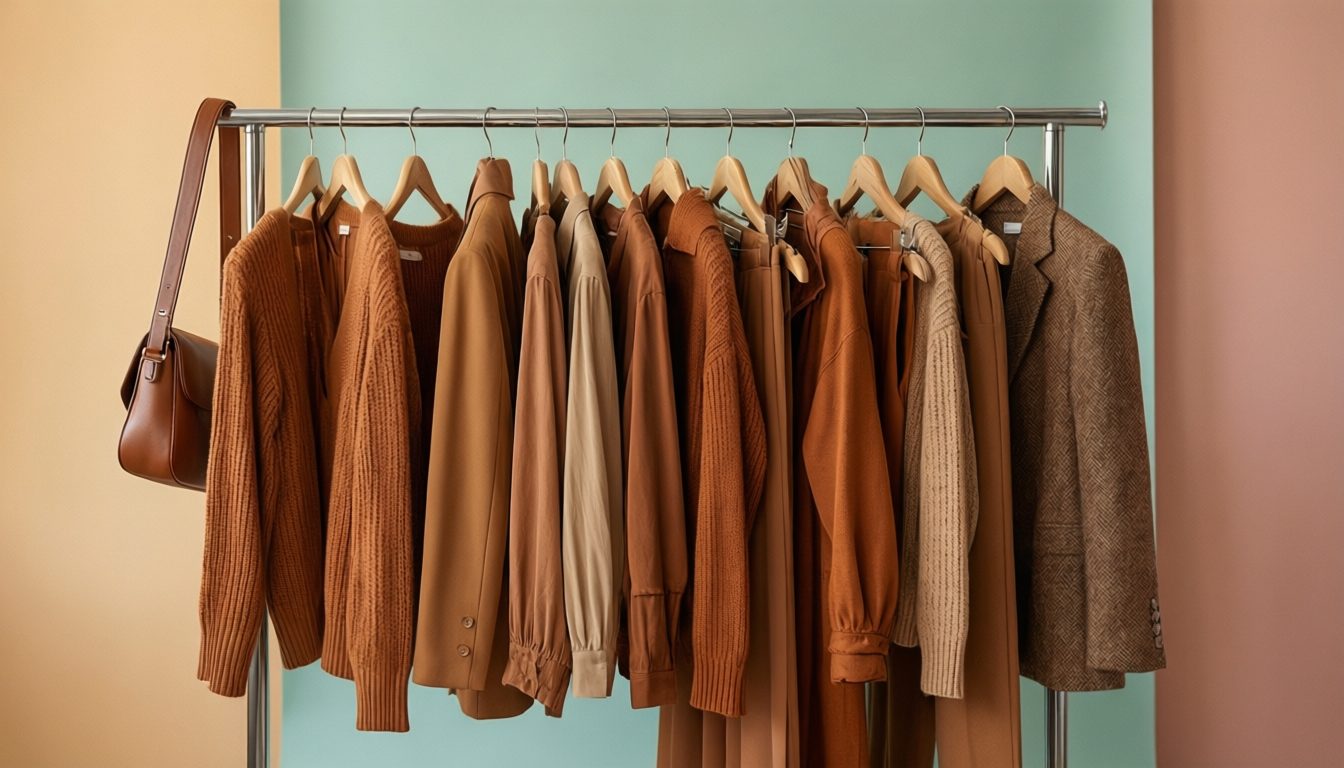
In a self photo studio, your outfit does half the work. The room gives you perfect lighting and a clean backdrop, which means the camera sees every colour clash, shiny fabric and wrinkled collar in high definition. The upside: with a little planning, even a simple white tee can look editorial against the right wall.
This guide covers how to match outfit colours to backdrop colours, which fabrics photograph well in Singapore's humidity, how to coordinate a group without looking like a uniform, and the patterns and logos you should leave at home.
Match Your Colours to the Backdrop
The core rule is contrast without clashing. Wearing the exact colour of the backdrop makes you a floating head; wearing its aggressive opposite can look costume-like. Aim for tones that separate you from the wall while staying in the same temperature family. Here is a quick reference:
| Backdrop colour | Outfit colours that work |
|---|---|
| White / cream | Black, navy, denim, earth tones, bold brights |
| Grey | White, pastels, burgundy, mustard, black |
| Black | White, cream, red, metallics, light denim |
| Pink / pastel | White, denim, grey, deeper same-family tones |
| Blue | White, beige, brown, soft yellow |
| Red / bold | Black, white, denim, neutrals only |
Most studios list their room colours online, so check before you plan. Our guide to props, backdrops and colour rooms explains what each room colour does to the mood of your photos.
Fabrics That Photograph Well
Matte fabrics are your friend. Cotton, linen blends, knitwear and structured denim hold their shape and do not bounce light back at the camera. Satin and other shiny fabrics create hot spots under studio strobes, and thin jersey clings and shows every line. Texture photographs beautifully, so a ribbed knit or corduroy adds interest even in a single-colour outfit.
Singapore practicality matters too: you will likely walk from the MRT through humidity before your session, so choose pieces that resist wrinkling or carry your photo outfit separately and change at the studio, since most provide a changing corner. Steam or iron everything the night before, because studio lighting exaggerates creases that your bathroom mirror forgives.
Coordinating Couples and Groups
The goal is coordination, not duplication. Pick a palette of two or three colours, for example cream, denim and brown, and let everyone choose their own pieces within it. This reads as intentional in photos without the awkward matching-shirt look. For couples, one patterned piece maximum between the two of you keeps the frame calm.
For bigger groups, distribute the visual weight: not all dark colours on one side of the frame, and no single person in a fluorescent shade that hijacks every photo. Agree the palette in the group chat a few days early, and have one backup neutral piece in case someone's outfit clashes on the day. If you are unsure how a combination will look, you can preview outfit colours against different backdrops with our free AI photoshoot generator before committing.
What to Avoid Wearing
Three categories reliably spoil studio photos. First, tiny repeating patterns: fine stripes, small checks and micro-houndstooth create moire, a shimmering interference effect that no editing fully removes. Second, large logos and text: they date your photos, pull attention from faces, and can cause issues if you ever want to use the image professionally. Third, extreme shine: sequins and glossy satin blow out highlights under strobes.
Also skip brand-new shoes that are visibly stiff, transition lenses that darken under bright light, and lanyards or smartwatches you forget to remove. Do a head-to-toe check in the studio mirror before your first frame; thirty seconds of checking saves thirty photos of a visible sock logo.
Your Final Outfit Checklist
The night before: confirm the room colour, steam your outfit, pack a backup top in a neutral tone, and plan your accessories, keeping jewellery small and matte. On the day: arrive a few minutes early to change and cool down from the humidity, check the mirror, remove lanyards and watches, and bring a hairbrush. Our studio session bag checklist lists the other small items worth packing.
Remember that your outfit works together with your hair, makeup and poses as one system. If you are going for the full Korean studio aesthetic, pair your outfit planning with our Korean makeup and hair guide, and rehearse two or three poses that suit the silhouette you have chosen. When clothes, colour room and poses agree with each other, every frame looks deliberate.
Frequently asked questions
What colours look best in a self photo studio?
Colours that contrast gently with the backdrop: dark tones on white walls, light or pastel tones on grey and black walls. Avoid wearing the exact backdrop colour.
Why do small patterns look weird in photos?
Fine stripes and micro-checks interfere with the camera sensor and create moire, a wavy shimmering artefact that is very hard to edit out.
Should our group wear matching outfits?
Match a palette, not the outfits. Agree on two or three colours and let each person dress within them for a coordinated but natural look.
Can I change outfits at the studio?
Most self photo studios have a changing corner or private room, and since the session is private you can change between looks. Factor changing time into your slot.
Keep reading
Korean Makeup & Hair for Photoshoots
Get the glowy Korean studio look - Base, blush, hair and quick fixes before you shoot.
Props, Backdrops & Colour Rooms
How to use props, coloured rooms and backdrops to give every set a different mood.
How to Pose in a Self Photo Studio
Body-language basics, angles and 20+ pose ideas that look natural on camera.
Self photo studios in Orchard
Singapore's shopping belt has the highest concentration of self photo studios - Ideal before or after a mall day.